July 31, 2024


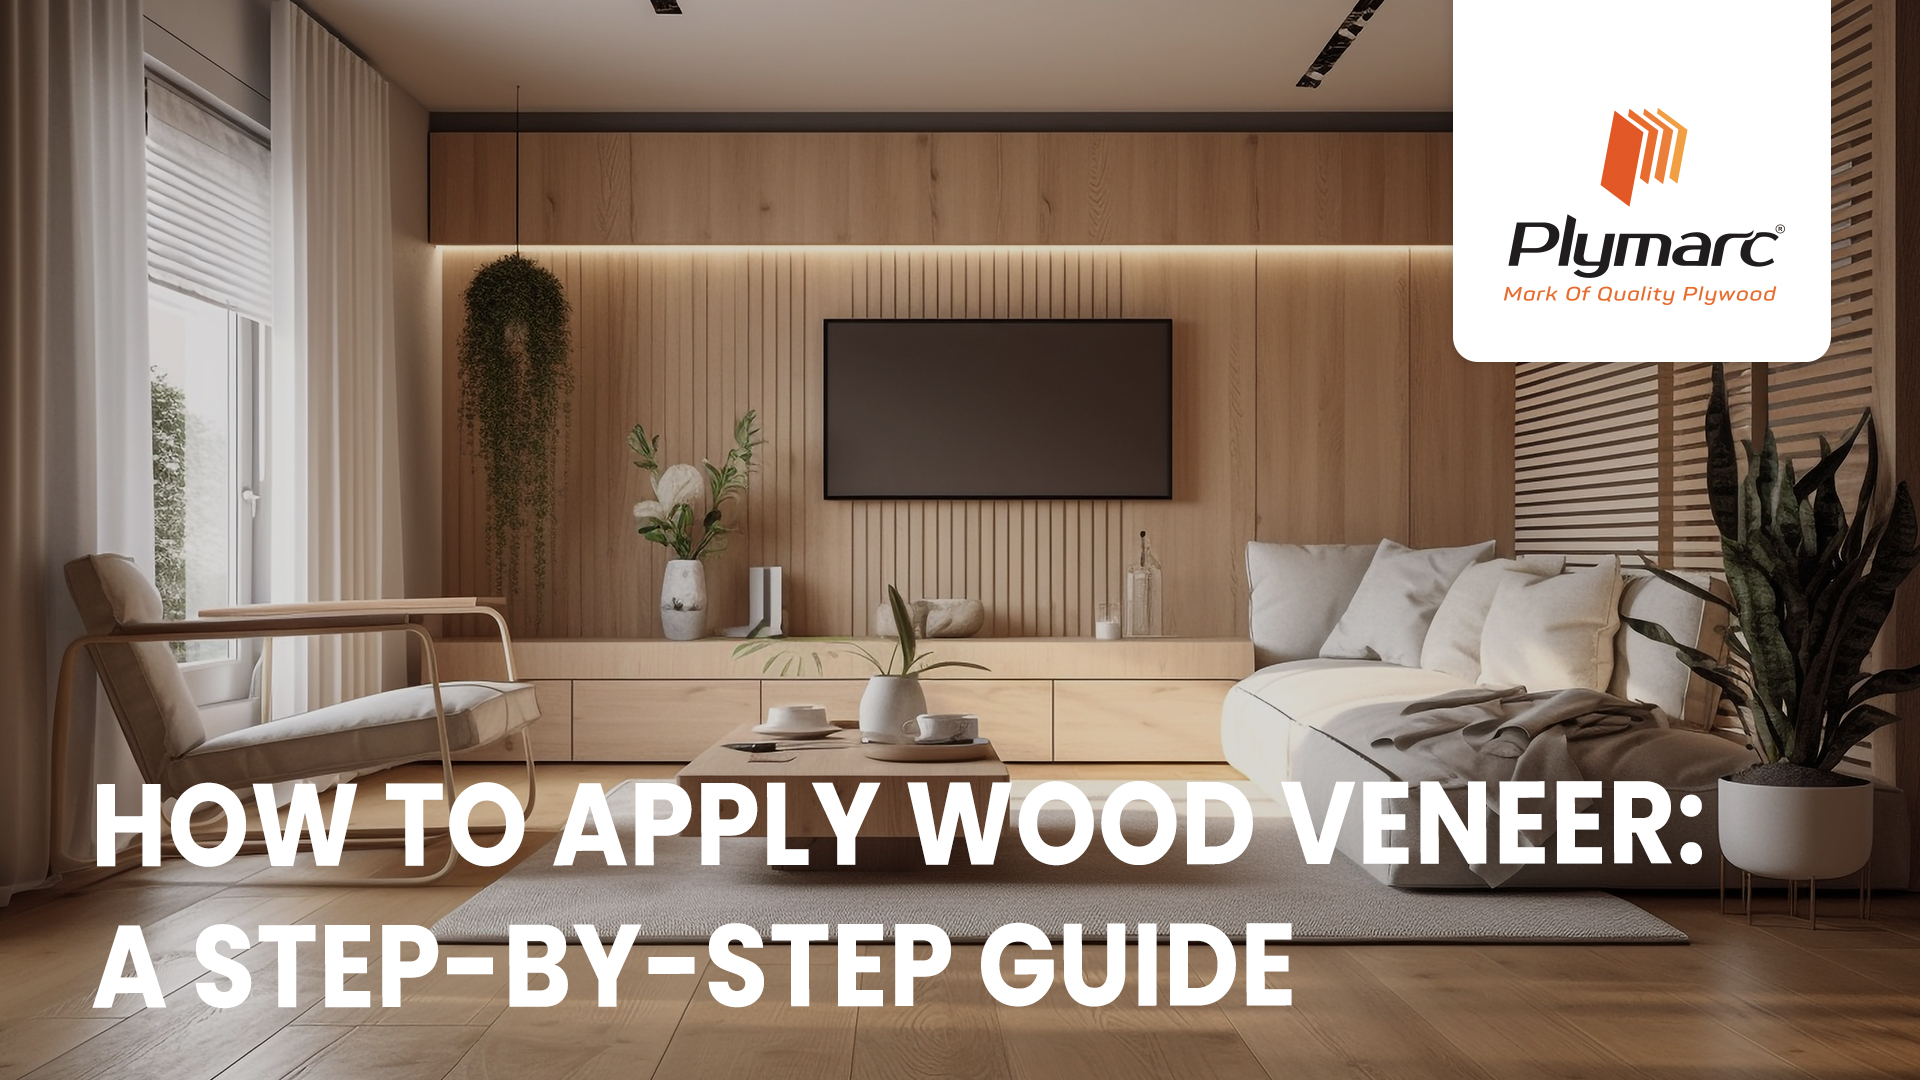
Though everyone desires a beautiful home, only a few of us are willing to get our hands dirty. This blog is dedicated to those awesome craftsmen, aiming to assist them in making their interiors remarkable with our decorative wood veneers.
Wood veneer provides the perfect solution with its natural beauty and versatility, and in this comprehensive guide, we will expertly guide you through the process of applying wood veneer, ensuring that you can enhance the allure of your home's interiors without breaking a sweat."
Before diving into the veneering process, ensure you have all the necessary materials and tools. You'll need:,
Proper surface preparation is the foundation of a successful veneering project. Follow these steps:
Ensure the substrate is clean, dry, and free of dust or debris. Any imperfections on the surface will show through the veneer.
Sand the substrate to create a smooth and level surface. Begin with rough-grit sandpaper and gradually move to finer grits for a polished finish.
Depending on the adhesive you've chosen (contact cement or PVA glue), apply a thin, even layer to both the substrate and the backside of the veneer.
Now, let's apply the wood veneer:
Carefully place the veneer sheet on the substrate, ensuring it aligns perfectly. Use painter's tape or veneer tape to temporarily hold the veneer in place.
Use a roller or veneer press to apply even pressure across the veneer surface. This step ensures strong adhesive bonding.
After the adhesive has been set, use a utility knife or veneer saw to trim the excess veneer along the edges of the substrate. Always cut slightly outside the edge, then sand for a flush finish.
Apply edge banding to cover exposed edges for a polished look.
Lightly sand the veneer surface to remove any imperfections, using progressively finer grits until the desired smoothness is achieved.
Finish the veneered surface with your choice of clear coat or wood finish. Ensure it complements the wood species for a stunning final appearance.
Inspect your veneered surface for any defects or inconsistencies. Touch up as needed.
Congratulations! You've successfully applied wood veneer, transforming your surfaces into works of art. Plymarc's high-quality wood veneer sheets have helped you achieve a professional finish, and your space now exudes the timeless beauty of natural wood.


©2020 Privacy Policy